8d030d326b9ea248d398b57c132efea8699fad22
Building a Personal Website
Part I: Domain Name and Virtual Machine
This is the first in a series of posts on how to build your own website from the ground up. I thought it would be good to divide the posts to keep it from being overwhelming. As a note, when signing up for these services, be considerate of your privacy. Each service offers bitcoin as acceptable payment, I encourage you to use bitcoin if you have it.
*Note: For each step I will reference a service that I personally use. If you prefer a different service you can go ahead and use that. I do it just to keep the guide simple and straightforward.
*Note II: If you are signing up for these services I would recommend you use a password manager such as
Bitwarden.
I use Bitwarden for my logins and password generation and cannot say enough good things about them.
Step #1: Buy a Website Domain
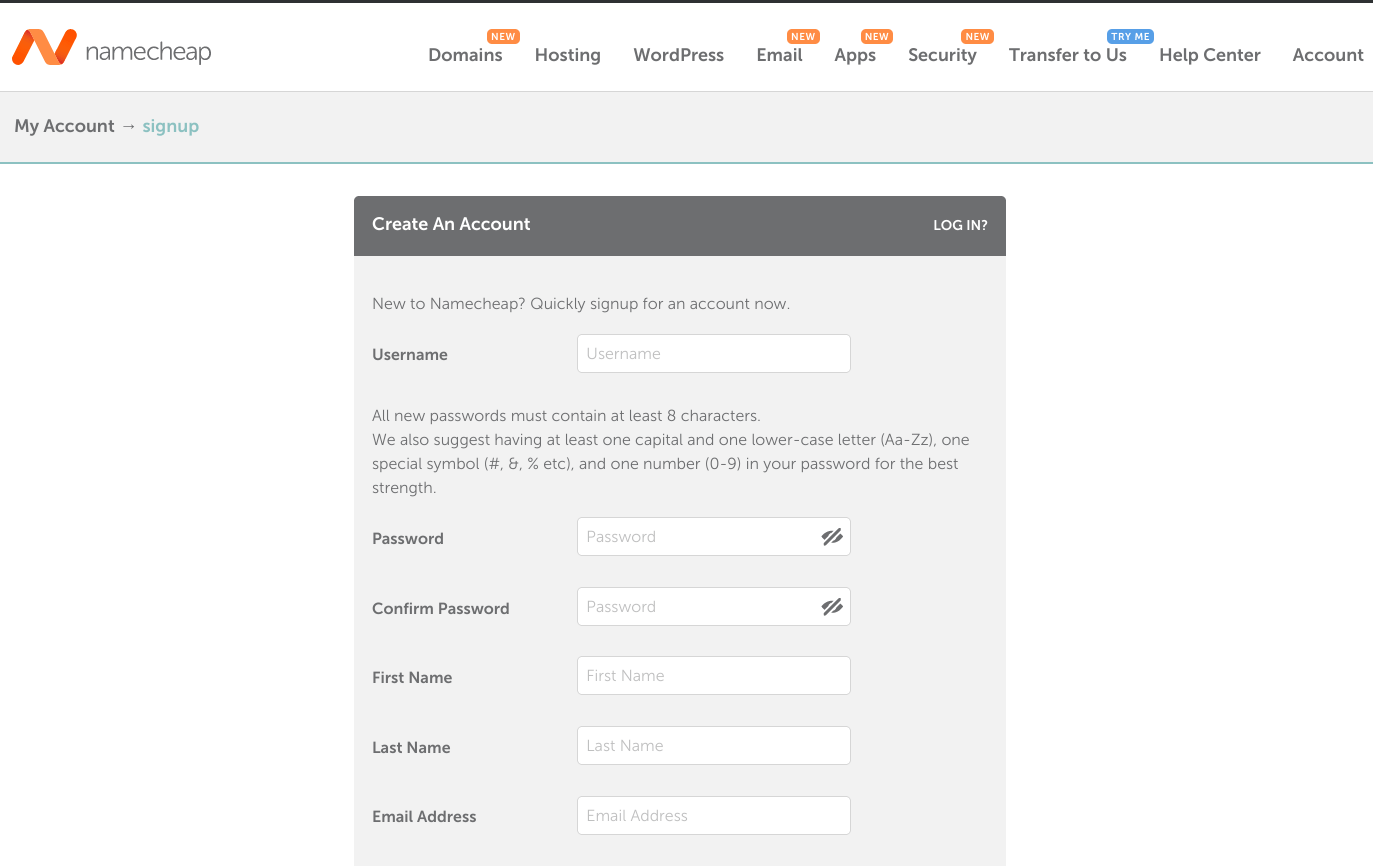
Make an account on Namecheap . Be cogniscient of your privacy when making an account.
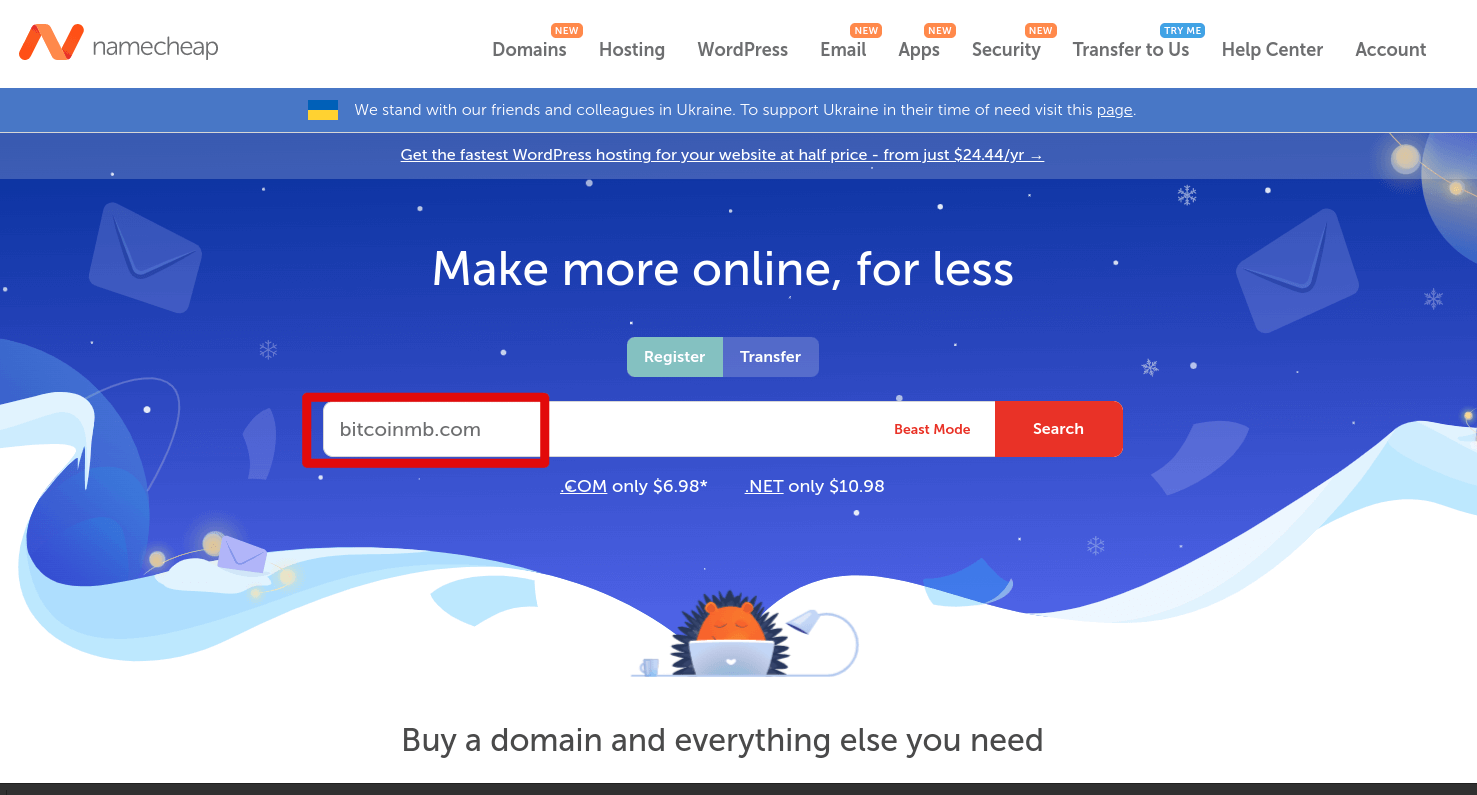
Go to the Namecheap website and search for the domain you want to buy.
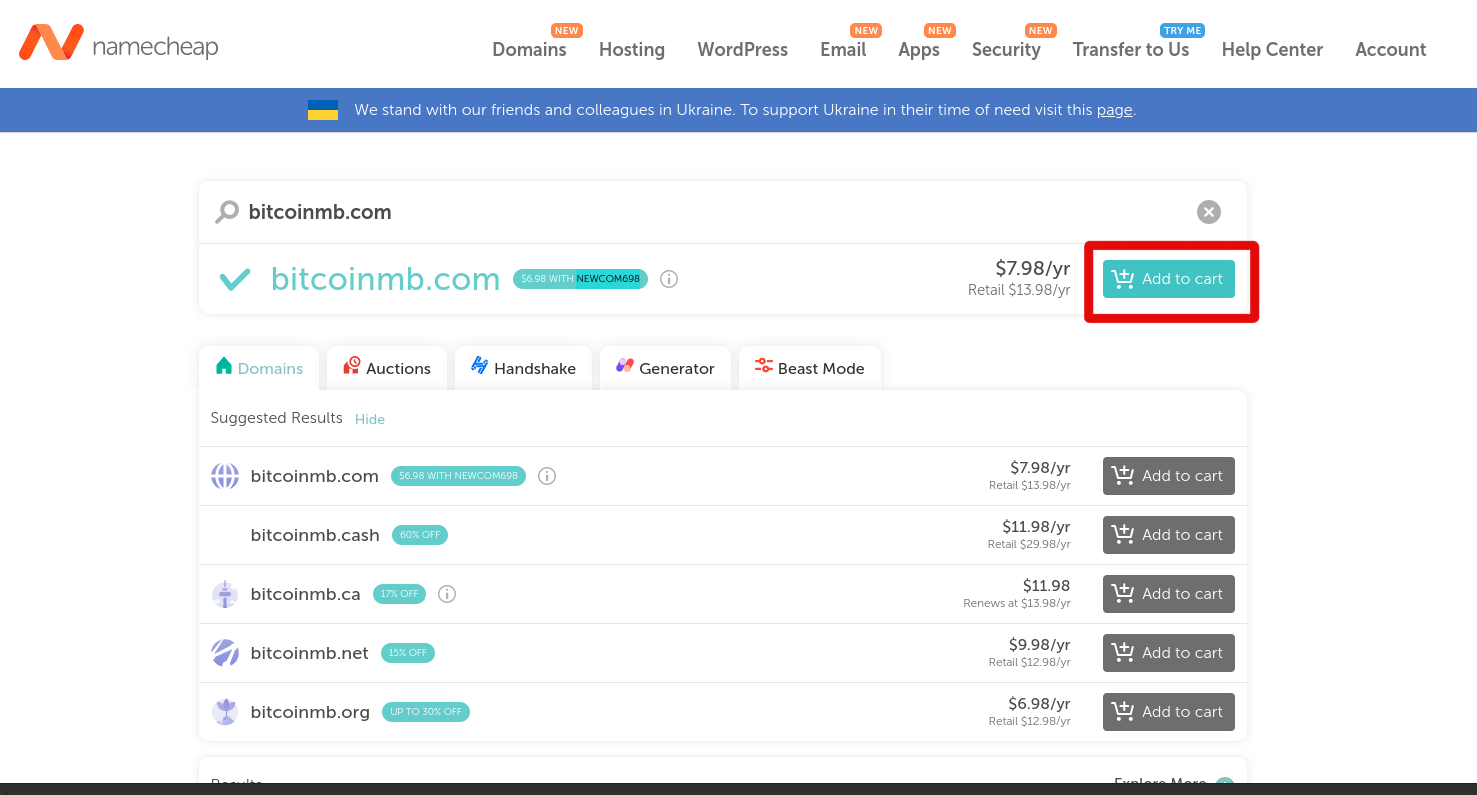
When you find a domain that is available, click the "Add to Cart" button to add it to your cart.
Now it's time to pay, so go to your cart and checkout. You will be presented with some options for the domain you are purchasing. Just follow the screenshot for my selections.
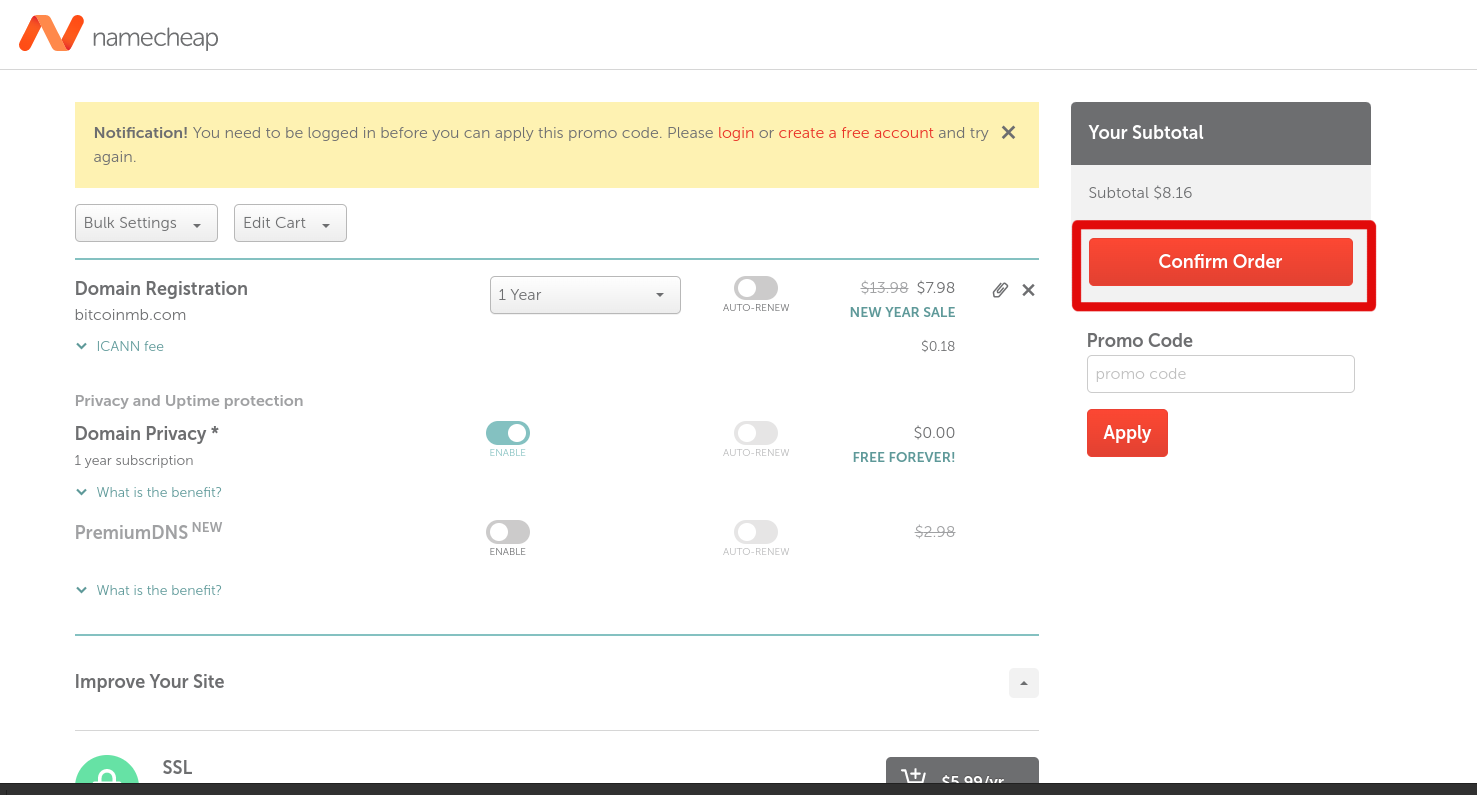
After you confirm your order you will be prompted to "Pay Now". As I said at the beginning of the article, I encourage you to spend bitcoin!
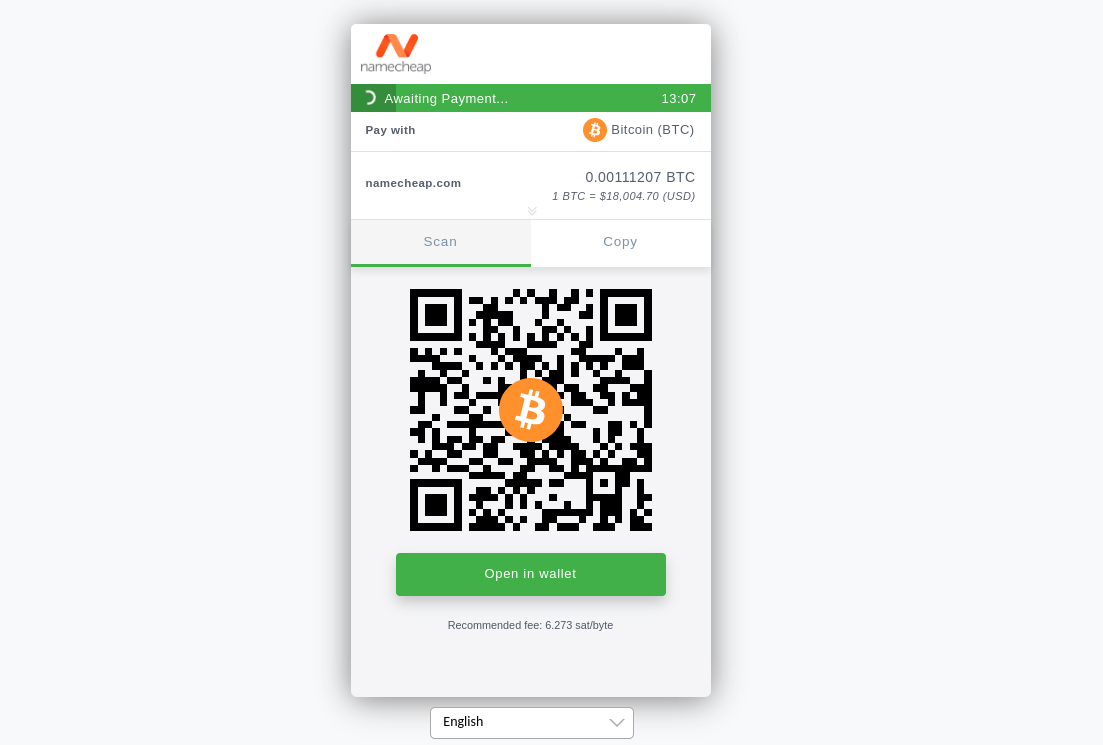
Congratulations! You have your first domain and are ready for Step 2.
Step #2: Buy a Virtual Machine
Go to the Lunanode website and log in to your account. If you don't already have an account, you will need to create one.
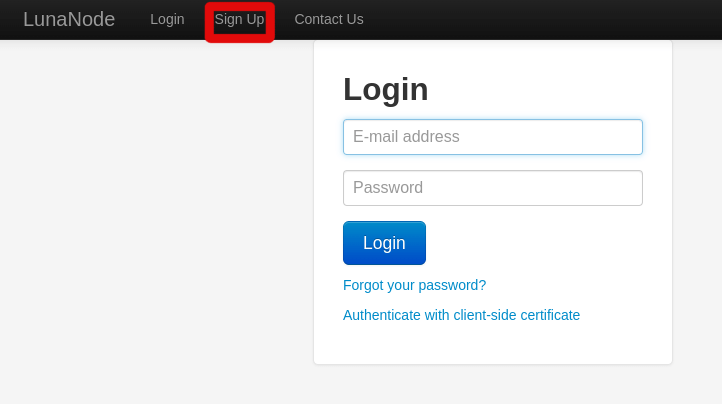
From the dashboard, click the "Create VM" tab on the left hand side to start the process of creating a new virtual machine. The only option to select is Toronto, so you can click that to continue.
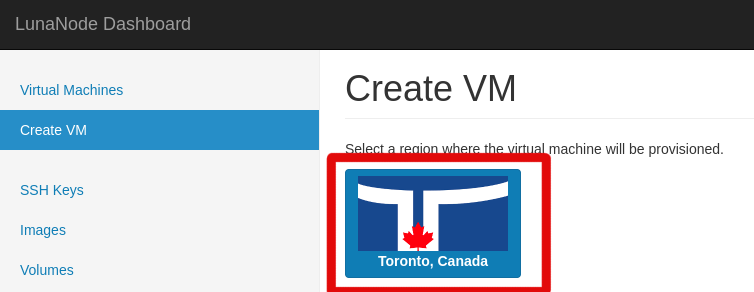
Name your server whatever you'd like, I usually just use the domain name. Choose the type of virtual machine you want and configure the options to meet your needs. At the moment, you can select the smallest one for our exercise.
Next, select the Ubuntu 22.04 Template Image. Add the virtual machine to your cart: When you have finished configuring your virtual machine, click "Create Virtual Machine"

Congratulations! Your virtual machine is now created and you should be directed to a page showing your machine.

Step #3: Point Domain Towards Nameservers
Now we have to tell our domain where our virtual machine is. So if we look at Lunanode under the "DNS" tab we will see that it has a list of 3 nameservers:

- ns1.lunanode.net
- ns2.lunanode.net
- ns3.lunanode.net
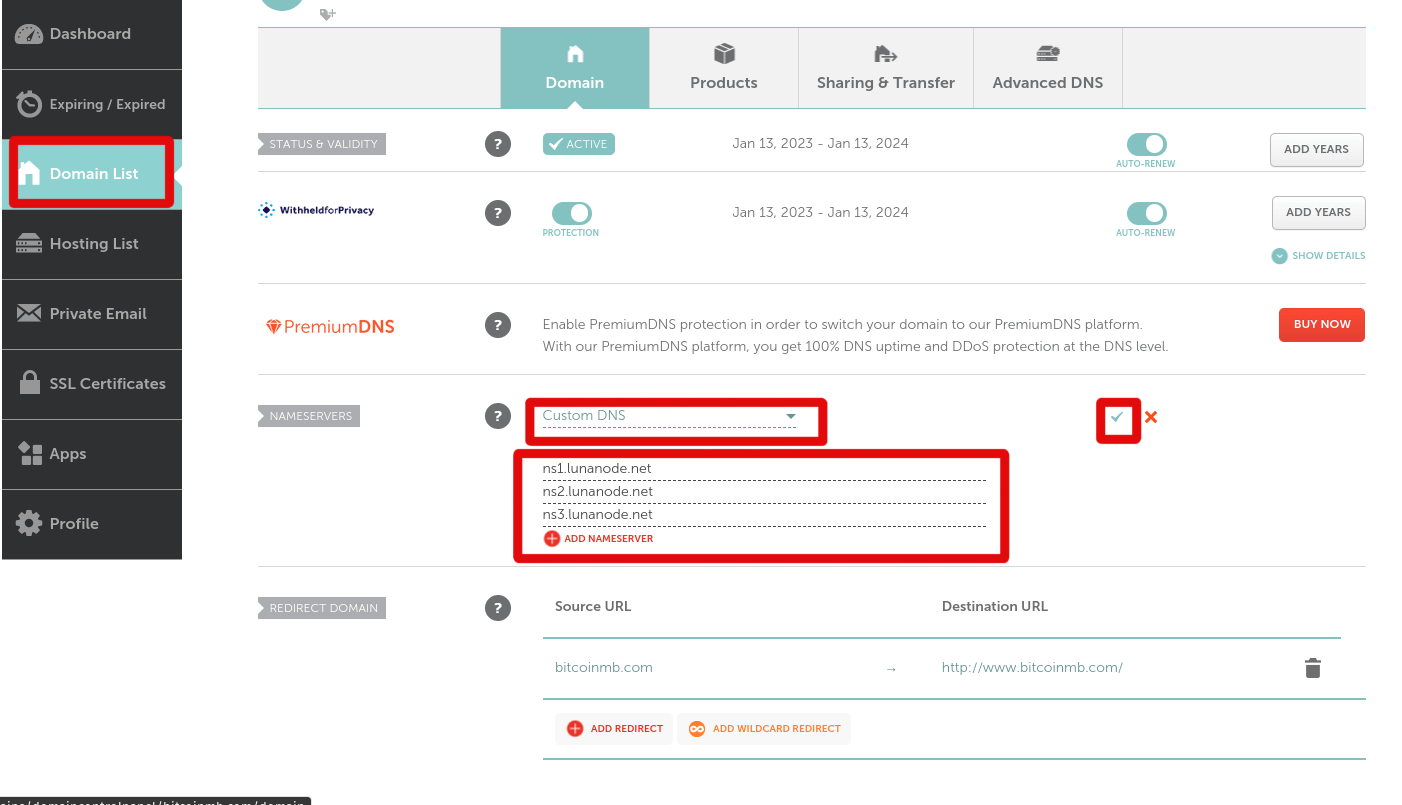
We have the info we need, so if we go back to Namecheap and access the settings of our domain we will change to "Custom DNS" and be able to input these 3 nameservers as replacements for the Namecheap ones. Click the green checkmark to save the changes.
Step #4: Attach Domain to External IP
Namecheap is listening to the Lunanode Nameservers looking for changes to our domain name. Our external IP on the virtual machine is what interfaces us with the rest of the internet. So, we need to connect our domain name with our internet protocol address.
Firstly, we grab the IP address (https://dynamic.lunanode.com/panel/vms). If we click on "Manage", then we land on the page showing all the details of our virtual machine. Our focus will be on our "External IP" and "Username"/"Password". Copy this information for the upcoming steps.

Now we have to start setting up our connection between our domain name and our virtual machine. We click the "DNS" tab on the left hand side. In the "Name" textbox, enter your domain name and the top level domain "domainname.tld" and click "Add Zone"

We have created the DNS Zone, so now we need to edit records in this zone. Click "Edit Records".

We need to add a record that points our domain zone to the external IP of our virtual machine. Use this information as a guide and click "Add Record".
- Type: A
- Name: @
- Data: External IP of Virtual Machine
- TTL: Don't change

Step #5: Let's Test It Out!
It's time to open up the command line. In Windows, this is command prompt and in Linux/MacOS it is the "terminal". Once you've opened a window we need to "SSH" to our virtual machine via our domain name. To do this we will need the username and password of our virtual machine, so go to https://dynamic.lunanode.com/panel/vms and click on your domain.

You should see a username and password in the list.
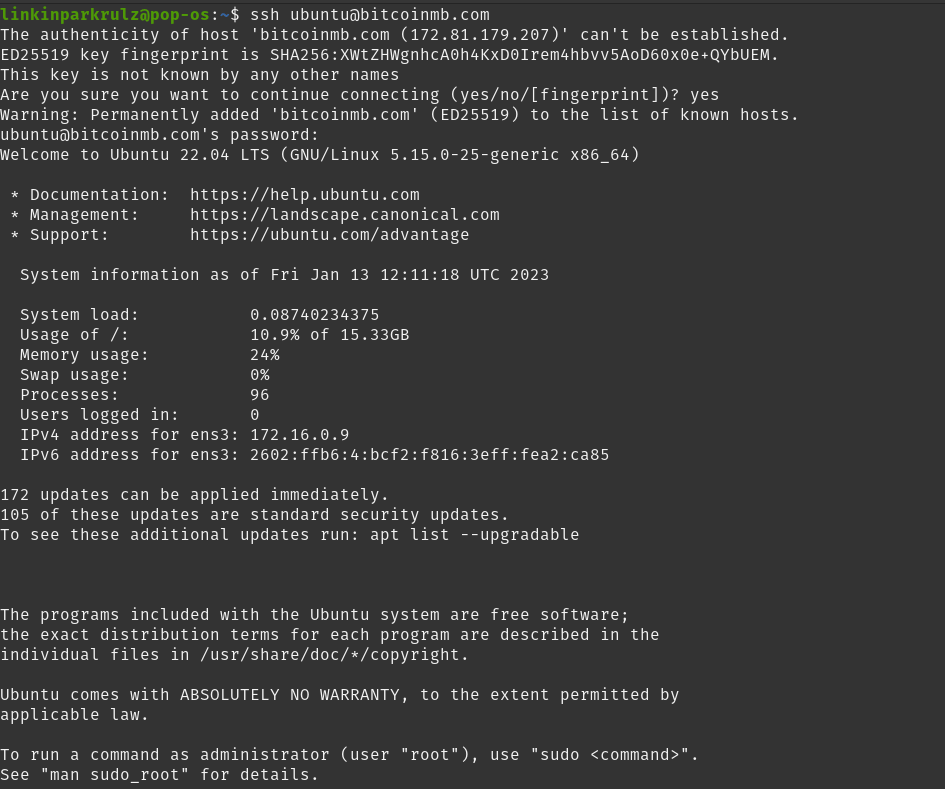
Now go back to the terminal and enter "ssh", then your username followed by "@" and then your domain name. After pressing enter you should be prompted for a password. Copy and paste your password from your Lunanode control panel. Press enter and you should be prompted

You will then be presented with a prompt to add a fingerprint. Type "yes" and hit enter.

Congratulations! You are now connected to your virtual machine via your local computer.
In conclusion, we acquired a domain name and virtual machine, linked them for local access via terminal with the domain name. Our next guide is to establish an NGINX server and publish web documents to the global web.
Let's Set Up Our NGINX Server!
Comments
Resources

Bitcoin for Small Business
An open source brochure to present to small businesses in your community.

Nostr Guide
Getting some keys, running a relay and NIP-05 verification


